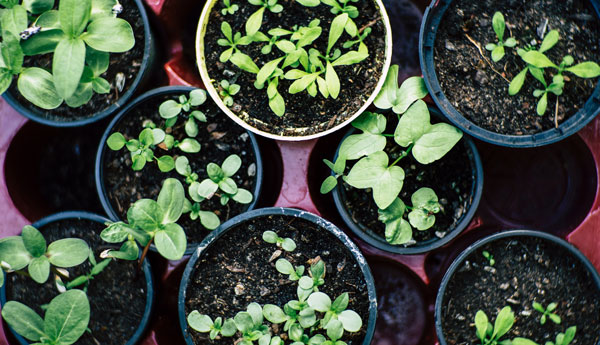
In our last article, we discussed what types of herbs you may want to consider for your herb garden, at least to start. Today, lets go over the basics of crafting a lush and successful herb-growing environment.
Location, Location, Location
Herb gardens really only need two elements, hence why they are one of the most popular things for folks to grow. The first thing is sunlight. Make sure you place your garden in a spot with plenty of sun. If your summer temps regularly top 90, amend this rule to sun for half the day, and shade the other half. This is one reason why window boxes are such a popular option for small herb gardens. The second necessity is well-aerated soil. For a quick rundown on soil types, check out the second paragraph over at our soil-prep guide.
Plotting Your Area
As mentioned, there are a fair amount of options when growing herbs. For a small bunch, a window box right outside your kitchen window may be a convenient option. For a little larger of one, a planter on the deck could fit your needs. For a serious herb garden however, I would recommend a full-on raised bed. To get ideas on how to build one, check out this helpful guide.
If you decide on any of these above three options, you’ll be filling in the soil yourself, so be selective–make sure wherever you’re pulling from is nice and loamy. If you don’t have any on hand, of course, or don’t feel like digging, you can always run to the local garden center for some good, prepackaged options. Standard Miracle Gro Vegetable & Herb Garden Soil is a great choice.
Prepping Your Zones
Much like regular plants, different herbs have slightly different needs. Of the five herbs mentioned in the previous article, rosemary, sage and mint will all need roughly 3 feet between individual plants; basil will need around 2; parsley, 1. To prepare your soil, even if you’re using pre-packaged mix, turn it over with a garden fork. It never hurts to be thorough.
Plant Your Plants
Take your herbs and, well, plant them into your now-aerated soil. I realize this may sound overly simplistic, but one of the great things about herbs is they are very easy to grow. Water them immediately, but be careful not to overwater from here on out–overwatering can be just as bad for herbs as under watering. The best way to determine when they need water is to stick your fingers about 2 inches into the soil around their base. When your fingertips come out dry, it’s time to water.
Harvesting
It’s a little difficult to give blanket advice on harvesting, as every herb is a little different, but here are a few general guidelines to consider. Wait until the plants get between 6 and 10 inches tall, then cut away about a third of the plant’s branches. If you cut the branches off right where they’re sprouting leaves, they will tend to regrow quicker. If an herb grows from the center, like parsley, fully remove all older branches, leaving small new ones to replace them.
From here, dry the herbs in a dehydrator, put them onto your food fresh, or whatever your heart desires. You’ve successfully taken your first batch of herbs from soil to table.
A humble homesteader based in an undisclosed location, Lars Drecker splits his time between tending his little slice of self-sustaining heaven, and bothering his neighbors to do his work for him. This is mainly the fault of a debilitating predilection for fishing, hunting, camping and all other things outdoors. When not engaged in any of the above activities, you can normally find him broken down on the side of the road, in some piece of junk he just “fixed-up.”

Tom says
If you could go a little more into harvesting, and drying, etc. I grew many of these but they remained on the vine because I was not certain how to dry and how long to…etc…msyb3 just your 10 Favorites.
Byron says
Look up the Tv show called Good Eats. The episode is called Herbal Preservation. He does it with a simple box fan and some good home HVAC filters. It should be on YouTube