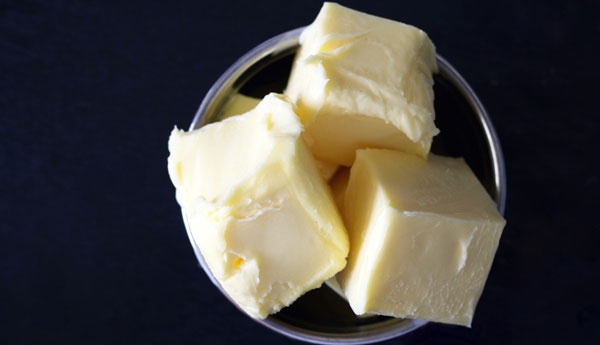
Have you always wanted to make some butter for the family, but not wanted to make it in the sort of quantities that require a full-on butter churn? Mason-jar butter can be a great option for the aspiring homesteader. Follow along below for how to make it!
Ingredients
Believe it or not, all you’ll need for this super-simple recipe is a cup of heavy cream, salt, some cold water and a Mason jar. There’s a reason butter-making is such an old tradition across the United States–it is super easy to make!
Process
To start, pour cream into a bowl, and hand whisk or beat with an electronic mixer on low. As the mixer thickens, up your pace a bit. After several minutes, a substance you should well recognize will form! What you have in front of you is unsweetened whipped cream.
As you continue to beat, the whipped cream will begin to turn a shade of yellow. This indicates that separation is beginning to occur. Clumps of fat should begin to form rather quickly, leaving buttermilk toward the bottom of the bowl.
Here is where your handy Mason jar comes into play. Fill it half-full with the heavy cream, and screw the lid on tight. Double check that last bit, or you’ll end up with a sloshy mess. Don’t ask me how I know…
Now comes the workout. you’re going to need to shake that jar for seven whole minutes, no stops. If you happen to have an overly energetic child, you may be able to pawn this part off–just don’t tell them about child labor laws. Keep shaking that jar until you hear a lump inside, then continue shaking another minute after that. When done, you’ll again see that solids have separated away from the liquids.
Strain aw2y the fatty solids using a cheesecloth. Make sure to save that buttermilk for Sunday pancakes though (starting to understand why this liquid is called “butter-milk)? Pour cold water over the solids (now officially called “butter”), discard the water and rinse three more times. You can now mold the butter into a ball, or use a butter mold, your process is technically complete!
Mine is now, however. While the craze these days seems to be for unsalted butter, I far prefer mine with a touch of sodium, and usually work about a quarter teaspoon of salt (you also could do this before you start shaking, if you prefer). Other options include a tablespoon of honey, a tablespoon of minced garlic, or any other herbs or spices you make fancy. Honey butter is always delicious on morning rolls, while its hard to beat the garlic variety on some homegrown mashed potatoes.
Once done, your butter will keep for three to five days unrefrigerated, or up to ten in the fridge, provided your container is airtight. While this is far shorter than store-bought butter, that is simply down to the lack of preservatives. Half the point of making it at home, however, is being able to eat it nice and fresh. Enjoy!
A humble homesteader based in an undisclosed location, Lars Drecker splits his time between tending his little slice of self-sustaining heaven, and bothering his neighbors to do his work for him. This is mainly the fault of a debilitating predilection for fishing, hunting, camping and all other things outdoors. When not engaged in any of the above activities, you can normally find him broken down on the side of the road, in some piece of junk he just “fixed-up.”

Rw says
Awesome. Used to do this as a kid