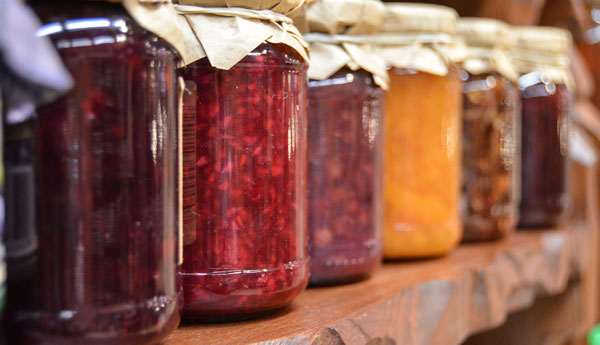
Your garden is producing and your fruit trees have ripened, but you want to save some of the bounty for the cold winter months. How do you go about it? Turns out, the answer for storing produce is an old and simple one–canning. Or more accurately, “jarring”. Read on for how to convert your glass Mason jars into food-saving solutions.
What You Need
To get started you’ll obviously need jars, but you actually need a little beyond that. Metal screw bands and lids are also necessary, as well as a jar lifter and hot pads. Finally, grab a stock pot deeper than the topped jars are tall, as well as a lid for it.
Loading the Jars
Food can either be packed “hot,” or “cold”–that means “cooked” or “uncooked.” Generally a “hot pack” allows for more compacting of the food, and thus more to be stored per jar. When packing the jars, allow at least a half-inch between the top of the food and the lid of the jar to allow for expansions. For starchier food like corn and peas, allow a full inch. This measurement is called headspace. Never allow more than an inch of it, as the more air left in the jar, the higher the possibility of rot and an improper seal.
Preparing the Food
While every food requires a slightly different process, we’ll use tomatoes as our example for this generalized guide. Take your tomatoes and wash them. An easy way to do so is lowering them into boiling water for 30 seconds, then popping them into cold water for a full minute. De-stem the tomatoes, pull off skins, and cut off any blemishes and green spots. Put two tablespoons of lemon juice into every quart jar, then pack the tomatoes in tightly until they are covered by their own juice, with a full half-inch of headspace between their top and lid.Take a utensil that can reach the end of the jar, and prod around the tomatoes to release any air bubbles trapped down there. Finally, wipe the rim, place the lid in position and screw down the band.
Sealing
To seal the jars, place them in boiling water that covers an inch or two over the lids. Once the boil returns to rolling, leave the jars in the water for 85 minutes (for every 1,000 feet above elevation, add two minutes). While some foods will require shorter or longer times, 85 minutes is a good standard for fruits, pickles and pickled vegetables. Once time is up, lift them out with your jar lifter, place them on a hot pad until cool, and store in a cool place until you’re ready to enjoy.
While you can buy a pressure canner, and indeed, many people prefer that method for vegetables, the boiling method is a simple and cost-effective way to accomplish virtually the same thing, utilizing implements you already have at home. The benefits of a pressure canner are that you don’t need to pickle vegetables for canning, but can instead store them fresh. Check out this link if you’re interested in purchasing a pressure canner. Happy canning!
A humble homesteader based in an undisclosed location, Lars Drecker splits his time between tending his little slice of self-sustaining heaven, and bothering his neighbors to do his work for him. This is mainly the fault of a debilitating predilection for fishing, hunting, camping and all other things outdoors. When not engaged in any of the above activities, you can normally find him broken down on the side of the road, in some piece of junk he just “fixed-up.”

Grampy Tom says
Hmmmm….Mason Jars…….not just for drinking Grmoonshine anymore.