Depending on where you live in these United States, you’re currently either enjoying some unseasonably warm weather, enduring record-setting snow, or some variation in between. While our country may have a fair amount of temperature variation, one thing tends to remain constant right about now: growing season is at an end, hunting season is running out, and its time to find a way to while away your wintertime hours. One pastime that is both fun and functional is a little wintertime tool-building. Ever wonder how our forefathers made the implements necessary for life on the homestead? Read on for plans on making of the simplest, but most versatile tools of yesteryear: the wooden maul.
Maul
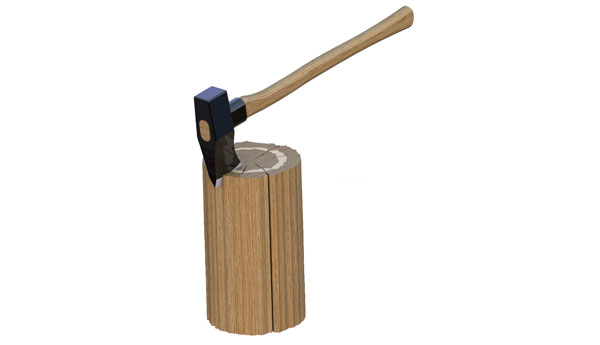
If you’ve happened to find yourself splitting wood at any point in the last odd century, you’re likely familiar with this tool’s updated cousin, the splitting maul.

This improved tool combines the weight of a maul, with the splitting efficiency of an axe or wedge. But a maul had its origins in a simple, mallet-like tool that was used to hammer wooden wedges, and other similar implements.

Wood Selection
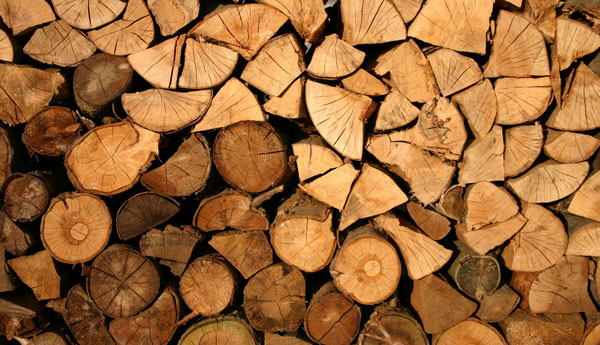
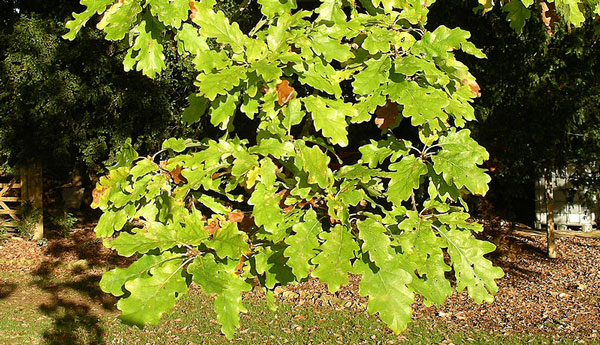
The selection of wood for your maul is important, both in terms of the kind of wood, and the specific piece. First off, you’re going to want to constrain your wood selection to white oak. While this is more commonly known nowadays as the key ageing component for Kentucky bourbon, it’s properties were once much prized for more varied and pedestrian tasks, and is still held in high regard as a long, hot-burning firewood. One reason for this, is oak is an extremely hard wood, similar almost to hickory, but far more easily worked. The next trick is to limit your search further still, to only white oak saplings. Finally, you need to find a white oak sapling with a deformity–a large knob somewhere in the trunk. Once you’ve locate just such a specimen, its time to begin.
Process
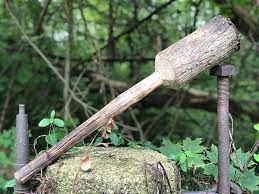
Start by cutting the sapling several inches above the knob, and as far below it as you’d like the handle to be long (these instructions can, of course, be reversed, if your knob happens to be closer to the bottom of the sapling than the top). Then take your sapling, place it in a vice, clamp, or shaving horse if you have one, and begin hewing. A sturdy knife works well for this, though a drawing knife works even better. With the knob as the head of your maul, shave the handle into a long, sloping cylinder until its width fits your grip to your liking. It should resemble a baseball-bat handle, without the round bit on the end (though feel free to add one, if you’re feeling fancy). Once this is done, and the maul is roughly shaped, take some sandpaper and work the handle until its nice and smooth to the touch. I like an 80-120-220-320-400-grit progression for tool handles, but you can certainly go higher if you’re looking for a very fine finish (as an example, when making a smoking pipe, I go all the way to 12000-grit for wood that feels almost velvety).
Seasoning
If you move from here to using your tool, you’ll split your painstakingly-crafted maul in a hurry. Green wood, while easier to work, needs to be seasoned before use, otherwise it will be nowhere near strong enough. Luckily, there are many ways to season wood. The easiest, of course, is to just let it sit somewhere dry for several months, making sure to tie it to other straight, stiff pieces of wood (or anything else, really) so it doesn’t warp. If you’re more impatient, a drying kiln knocks the process down to several days. An improptu version, with wood teepeed up around a small fire also works, but requires a constant eye on the fire, to ensure it neither goes out, nor sets your whole stack ablaze. Finally, in a process I’ve only heard done, but that is sworn by by many–if you’ve a large enough pot, you can boil your wood to season it. In the maul’s case, this would have to be the size of a bathtub, or an old, apple-butter style cooking receptacle, but it could be done.
Once it’s seasoned, you’ll have a strong implement for pounding wedges when hewing logs and splitting firewood. If you use one of the faster drying methods, it could even come in handy keeping you warm this very winter.
If you enjoyed this piece on woodworking, and want to see more in the future (perhaps on some other implements discussed in this article, like a shaving horse or smoking pipe), let me know in the comments. Have a happy New Year y’all!
A humble homesteader based in an undisclosed location, Lars Drecker splits his time between tending his little slice of self-sustaining heaven, and bothering his neighbors to do his work for him. This is mainly the fault of a debilitating predilection for fishing, hunting, camping and all other things outdoors. When not engaged in any of the above activities, you can normally find him broken down on the side of the road, in some piece of junk he just “fixed-up.”

VkHsinKy says
Attachment
I found this picture.
Kk says
What..no picture?gotta have a picture….if you could see the finished product we each have running through our heads right now…you’d surely post a
pic in disgust!
Toolman says
Sounds easy enough. How about a photo of your finished tool.
Les says
I am truly interested in the wood working projects. In the future I will be in need of a shave horse and other wooden tool.
Thx,
LJ