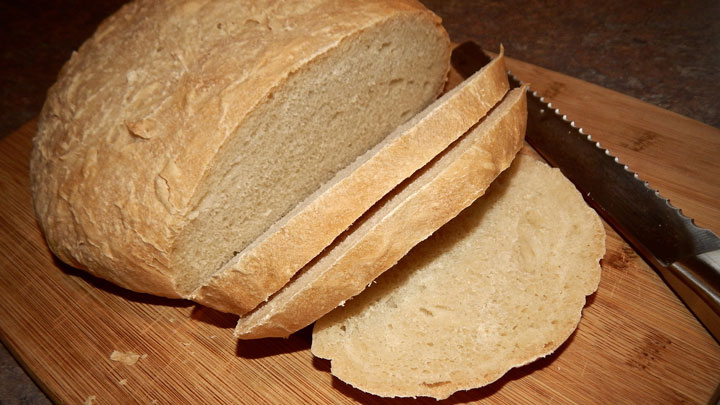
To those looking for this article and not finding it a week ago, my sincere apologies. A few things came up on the homestead requiring my immediate attention, and I am running a week behind schedule. That said, I’ve always heard a week late is better than never, so let’s jump right in on baking your own sourdough. If you are just joining us, and need a primer on how to make the starter, please refer to our previous article, which can be found here.
To begin, you will need a full cup of your starter. Ensure it has been recently fed, and is not too foamy, indicating it is over-ripe and needs to be fed again. You will also need a cup and a half of warm water, 2.5 teaspoons of salt, and 5 cups of unbleached flour.
Put all of these ingredients into a mixing bowl of at least three quarts, and mix them together. Add the water and starter first to ensure even distribution. Once mixed, cover and let it rest for an hour.
Once rested, wet your hands and work the dough with your fingers and knuckles, stretching, tightening and folding until the dough smooths. It will be a tad sticky by the end, but should be soft enough to work into a tight ball. Let it rest another hour, then repeat the process to really ensure that starter is thoroughly distributed.
Transfer your mix into a lightly greased (I use olive oil, but you can use Pam, or anything else that catches your fancy) bowl of the same size, and cover. Allow it to sit for around a half day, to give it time to rise about double. As progress should be monitored carefully, try to use a clear bowl if available. I say this, because in a warm kitchen doubling time may be cut nearly in half, while in a cold kitchen the period could stretch on even longer.
Once it’s doubled, if its shape has been lost, reform the dough into a ball by pulling all sides to the middle, on a floured surface to prevent sticking. Then cut your mound in half. This will cause some deflation, but don’t panic! Its quite normal. Form both pieces into oval-shaped loaves, just a tad smaller than the sort you make in the grocery store. Cover both and let them rise for another hour. They should puff up a good amount. At some point during this process, preheat your oven to 425 degrees Fahrenheit.
Mist the loaves with warm water, which will allow the crust to stay uncooked longer, leading to a greater rising time. Filling a clean spray bottle with water makes this quite easy. If you’re going for a fancy look, sift some flour onto the top of the loaves, though this steep is wholly unnecessary. Finally, slash each loaf diagonally thrice, to about a quarter of its depth. This prevents the sides of the bread from tearing when it rises.
Place the loaves in the oven, and bake for about a half an hour. If you’d like to be precise, cook until the inside of the bread reaches 210-degrees Fahrenheit on a trustworthy thermometer.
Once this time or temperature is reached, remove the bread and store wrapped in loose plastic for several days, or freeze if you don’t intend on eating it for a while. If you freeze, still let it sit for a few days upon unfreezing. From here, you should have some delicious sourdough to enjoy, perhaps with some similarly homemade Chevre cheese.
A humble homesteader based in an undisclosed location, Lars Drecker splits his time between tending his little slice of self-sustaining heaven, and bothering his neighbors to do his work for him. This is mainly the fault of a debilitating predilection for fishing, hunting, camping and all other things outdoors. When not engaged in any of the above activities, you can normally find him broken down on the side of the road, in some piece of junk he just “fixed-up.”
