Last updated: August 18, 2026 · Originally published May 31, 2021
A European (or “euro”) skull mount displays a deer’s cleaned, whitened skull and antlers without a shoulder cape. It has four stages: (1) field prep — skin the head and remove the eyes, lower jaw, tongue, and brain, taking off as much flesh as you can; (2) simmer the skull in water with a degreaser (a gentle simmer, never a hard boil, which can crack bone and loosen teeth) to release the remaining tissue; (3) scrape and pressure-rinse it clean and degrease it; and (4) whiten it with 40-volume hydrogen peroxide — not chlorine bleach, which weakens bone over time. Beetle colonies and cold-water maceration are alternatives to simmering.
European skull mount: key questions
How do you do a European skull mount?
Skin and clean the head (remove eyes, jaw, tongue, and brain), simmer the skull with a degreaser to loosen tissue, scrape and rinse it clean, then whiten it with hydrogen peroxide. The result is the bare skull and antlers, ready to display.
Should you use bleach to whiten a deer skull?
No. Chlorine bleach makes bone chalky and brittle and can cause it to flake over time. Use 40-volume (salon-grade) hydrogen peroxide instead for a durable, natural white.
Can you boil a deer skull to clean it?
You can simmer it, but never hard-boil it. A rolling boil can crack the bone, loosen the teeth, and damage the nasal bones. Keep the water at a gentle simmer and add a degreaser to speed things along.
What are alternatives to boiling for a euro mount?
Dermestid beetle colonies and cold-water maceration (letting bacteria break down the tissue in water) both clean skulls thoroughly without heat, though they take longer than simmering.
Unless you’ve found a deadhead that–miraculously–has some of the meat still attached, this probably seems odd timing for an article on the procedures for Euro-mounting a deer skull. There’s a reason for that. About halfway through the project this fall, I came down hard with the world’s favorite Coronavirus, and was forced to shelve it for a while (though I must admit, losing my olfactory senses made boiling endlessly more pleasant than usual). That said, the beauty of the internet is that this will still be here to reference this fall if you currently have no need of it, but if you’ve been saving the head of that big buck in a bag, unsure just what to do with it (*cough* looking at you Roy), here’s Part 1 of how to Euro-Mount a Deer Skull: Field Prep.
Removal
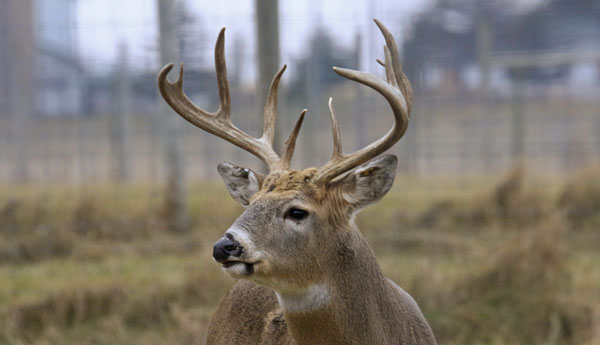
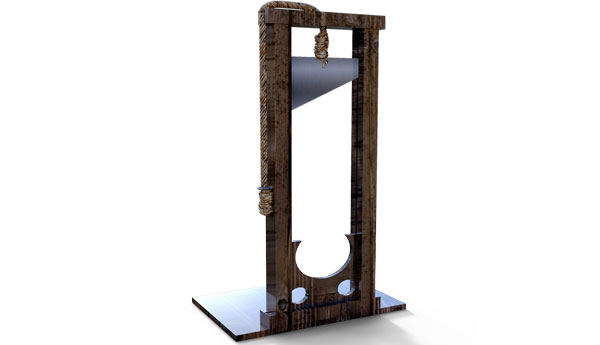
In the spirit of thoroughness, lets backtrack a step or two, to discuss how to actually remove a head from a deer. This sounds almost too simplistic to even discuss…right up until you get to that carcass, and realize just how many bones and connections exist to keep the head–particularly an animal head–tied firmly to its shoulders. Suddenly, a portable guillotine doesn’t sound like the worst idea!
In all seriousness, I have removed heads every which way, from hatches, to knives, to bone saws, to full-blown axes and mauls, and the majority of times I came away with dull blades covered in viscera, until I figured a good system. Here’s the best way I have found.
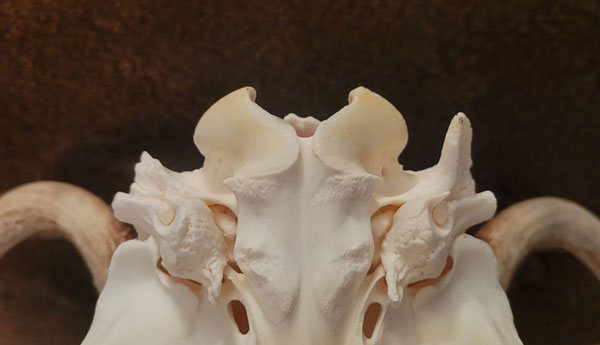
Put your knee on the deer’s neck, and rotate the skull around by the antlers (or, if you’re removing a doe skull for some reason, by the top of the head). With the fingers of your other hand, feel around for the pivot point, and the base of the skull. Once you’ve located it, take a small, sharp knife, and begin cutting away meat until you get to the vertebrae. Make sure to cut all the way around, but be mindful not to hack through the two flanges jutting out from the skull (it would take an inordinate amount of pressure with a knife, so you would definitely have to *try* to do it). Once the meat is severed through, give the skull a good twist–the skull should pop free from the vertebrae. If it doesn’t, keep trimming meat and connective tissue until it does. No hacking, no saws, and most importantly, no possibility of excess damage required.
Here, you can see the rear of a deer skull as referenced below. One flange remains properly intact, while the other has been removed. Thankfully, this careless damage does not affect mounting to any great degree.
Please keep in mind, if you plan on having the deer shoulder mounted, caped, or stuffed in ANY way, this is NOT what you want to do. Please take the carcass to your taxidermist, and let them do what they do best.
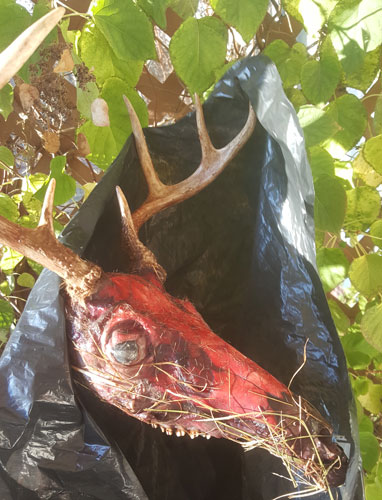
Skinning OutPlease pardon the debris on the nose, I had just returned from the field when this was taken, and had not yet hosed it off. Regardless, this is roughly what you’re looking for. Some folks also fully remove the eyes at this stage, but I tend to wait, as it is easier once boiled.
Once the head is off the carcass, its time to skin it out. Take a long, sharp knife (I like the Gerber Gear Vital Big Game Folder Exchangeable Blade for this task, as there is no real way to avoid dulling a good blade skinning out a head), and carve all around the eyes. I like doing this first, as the skin is still tense around the area, making it easier to puncture and carve. Next, make some incisions around the base of the antlers, and start to pull the skin forward and off. Make sure to pay extra attention around the nose and eyes, as it has a habit of sticking a little extra here. From here, I have to tell ya, there is very little set process. Its dirty, gross work, and the only real rule is to get all the skin, and as much meat off as you can. I will offer you one final thing, however. After you’ve carved off the cheek meat, slit the muscles around the jaw as best you can toward the middle of the joint. Once done, this will make pushing the jaw forward and off the skull a MUCH easier proposition.
That’s all the room we have this time folks. Next in this series, we’ll cover the first steps toward getting your skull white and meat free. Hope you’ve enjoyed!
Euro Mount Deer Skull FAQ
What is a Euro mount?
A Euro mount is a way of displaying a deer’s antlers and skull with the flesh and hide removed and the bone left natural white (or a similar finish), rather than the full cape-and-form mount a traditional taxidermy shoulder mount uses. It shows the skull itself instead of a reconstructed head.
What tools do I need to remove a deer head for a Euro mount?
A sharp, sturdy knife (a fixed blade or a folder built for big game work) and a saw or heavy knife capable of cutting through the neck vertebrae. A skinning knife with a replaceable blade helps, since caping out a head dulls an edge fast.
Do I need to remove the eyes and cheek meat myself before boiling?
No — you don’t have to get every last bit off in the field. Field prep is about getting the skin, eyes, and the bulk of the meat off so the skull is ready for the boiling and degreasing stage that finishes the job (covered in Part 2 of this series).
Can I wait to do field prep, or does it need to happen right away?
You have some flexibility, especially in cold weather or if the skull is frozen, but the sooner you get the hide and meat off, the easier the job is and the less odor and mess you’ll deal with. Don’t let a caped head sit ungutted/unskinned for long in warm weather.
Safe pull temps for steak & burgers, from Popular BBQ.
View full chart →
Lars Drecker
A humble homesteader based in an undisclosed location, Lars Drecker splits his time between tending his little slice of self-sustaining heaven, and bothering his neighbors to do his work for him. This is mainly the fault of a debilitating predilection for fishing, hunting, camping and all other things outdoors. When not engaged in any of the above activities, you can normally find him broken down on the side of the road, in some piece of junk he just “fixed-up.”
The New World screwworm is back in U.S. livestock in 2026. Learn the warning signs, the daily prevention routine, and what to do if you spot an infestation.
Fall migration is a smart time to tighten your coop routine. This practical guide explains how to protect your backyard chickens from bird flu with simple biosecurity steps, safer feed and water habits, quarantine basics, and warning signs every flock owner should know.
Backyard flock biosecurity works on the fall migration calendar, not the USDA case count. Here is the September checklist, the warning signs, and who to call.
Homesteading has no legal definition – the word means three unrelated things in American law. Here is what each one actually is, what the 2022 USDA Census says about how common small-scale farming really is, and the cottage food, poultry and municipal rules that decide what you can do.
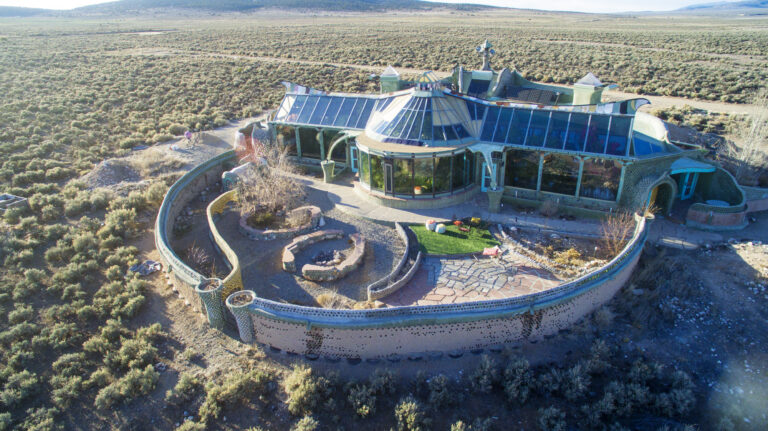
A New Mexico Taos architect spent fifty years turning old tires into houses. The idea still has a following because it answers the same question every homesteader asks: how much of this place can we handle ourselves?Last updated: September 11, 2026 · Originally published September 6, 2026 Drive west of Taos on a high desert…
One Comment
I would suggest that when there is a series of articles on the same subject, links to the rest of the series would be helpful. Loved the article series! Very informative and a great help to the DIY folks out there. I do use aluminum foil roasters and pie plates from the dollar store for these activities. Cheap and disposable also scalable. A beaver skull doesn’t need same size as deer. I got a turkey fryer on the cheap and use that for my boiling. Antler bases I protected with painters tape.



I would suggest that when there is a series of articles on the same subject, links to the rest of the series would be helpful. Loved the article series! Very informative and a great help to the DIY folks out there. I do use aluminum foil roasters and pie plates from the dollar store for these activities. Cheap and disposable also scalable. A beaver skull doesn’t need same size as deer. I got a turkey fryer on the cheap and use that for my boiling. Antler bases I protected with painters tape.