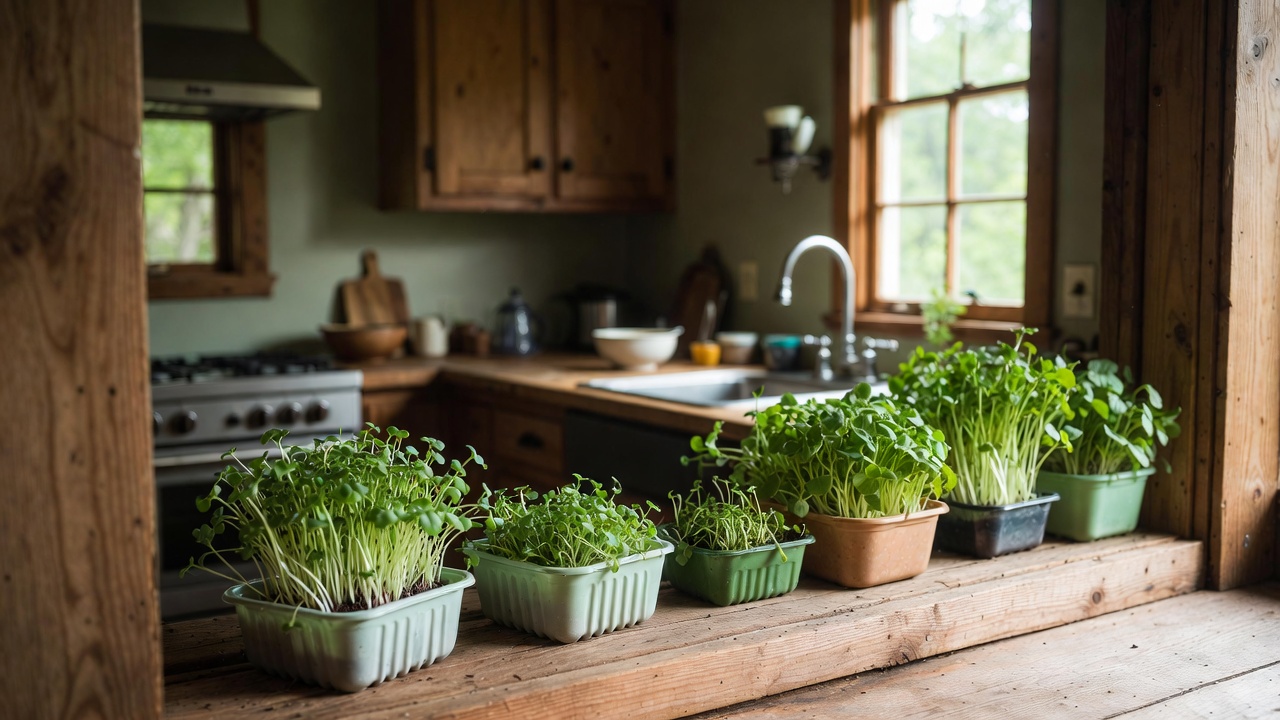
Growing Microgreens Indoors in Winter: A Practical Homestead System
A practical winter system for growing microgreens indoors: what to sow, how much light and warmth they need, and where the work usually goes wrong.
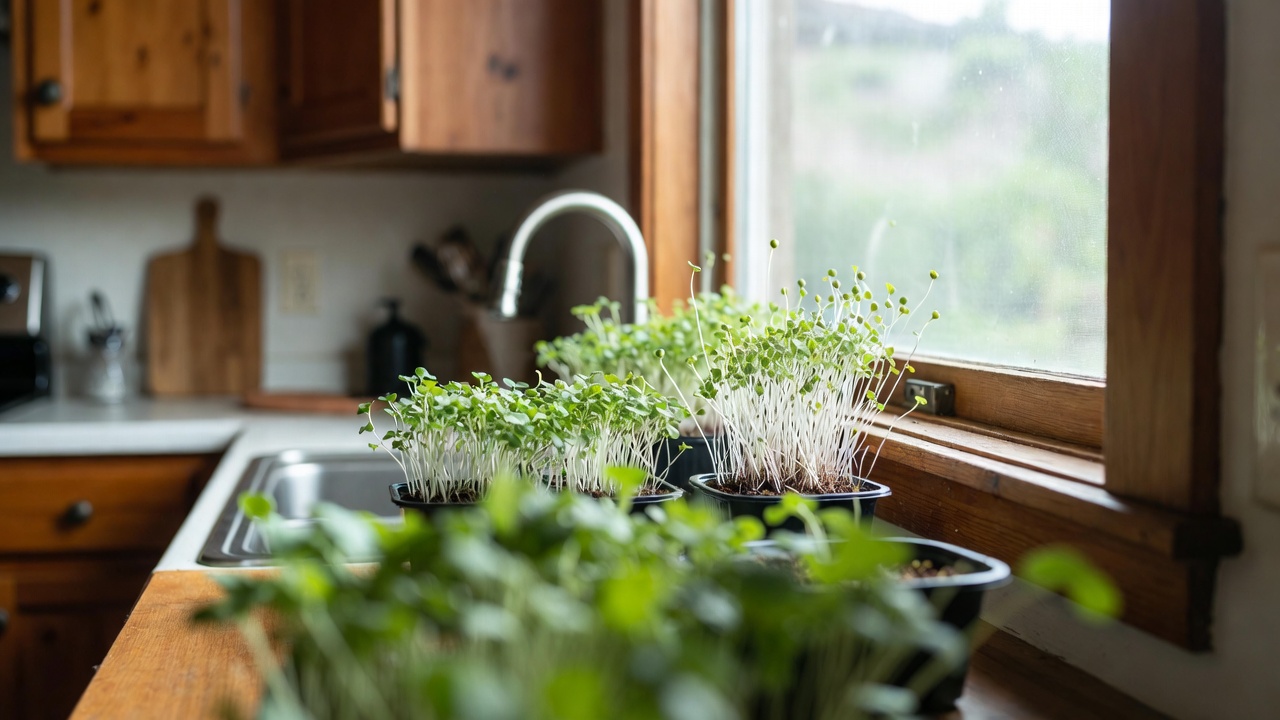
This piece offers reflection grounded in real work and mistakes, not instruction. But winter is long, and a little structure helps keep the greens – and the spirits – alive.
Introduction: Green Work in a Frozen Season
In January, my outdoor beds disappear under a crust of snow. The trellises stand there like empty clotheslines. The work moves indoors.
On the coldest mornings, I pad into the dark kitchen, flick on the grow lights, and the room changes. A shelf of trays glows quietly in the corner: radish pink, pea green, the faint fuzz of sunflower stems just breaking free. The window beyond them is all ice and sky. Inside, it smells like damp soil and cut stems.
Winter will take the garden, but it doesn’t have to take the work.
Microgreens became my winter habit almost by accident – a way to keep my hands in soil when the ground outside said no. Over time, they turned into a simple system: trays, light, a bit of attention twice a day, and in a week or two, a cutting board full of greens.
University and USDA‑funded research found that young microgreens harvested in their first few weeks can carry roughly 4–40 times the concentrations of certain vitamins and antioxidants compared with the same plants grown to full size.1 For a homestead kitchen, that means a lot of nutrition in a very small footprint.
This guide is my attempt to set that winter practice down on paper – reflective, but also practical. I’ll walk through the systems that have worked for me, the mistakes that taught me the most, and two complete setups you can adapt to your own house or apartment.
System Overview: Microgreens as Winter Companions
When I say microgreens, I mean something very specific. Not sprouts in a jar, not full salad leaves from the garden, but an in‑between stage: seeds sown densely in a shallow tray, grown in a thin layer of mix, and cut once the first set of true leaves appears.
Extension guides place most indoor microgreens on a 7–25 day timeline from sowing to harvest, depending on the crop and conditions.5 That quick cycle is what makes them so well‑suited to the dead of winter.
Here’s how I think about the different “green” stages:
| Stage | Grown In | What You Eat | Typical Feel in the Kitchen |
|---|---|---|---|
| Sprouts | Jar or tray, no soil | Entire sprouted seed | Very fast, almost snacky |
| Microgreens | Thin layer of mix | Stem + seed leaves + first true leaves | Compact, intense, steady supply |
| Baby greens | Deeper soil/bed | Small true leaves | Closer to outdoor salads |
I focus on microgreens in winter because they need very little space, and the work of tending them feels more like tending a small indoor field than babysitting jars on a counter.
Fast, forgiving winter crops
Some crops lend themselves to this winter routine better than others. Home gardening guides consistently point to radish, sunflower, pea shoots, broccoli, kale, mustard, arugula, and basil as beginner‑friendly, flavorful microgreens that do well indoors.5
Most of these will reach harvest size somewhere in that same 7–25 day window in typical indoor conditions, which means you can stagger plantings and keep a cutting board busy without dedicating your entire house to grow lights.1 5
The system isn’t glamorous: shallow trays, a cheap light, a small fan. The beauty is in the rhythm.
Essential Considerations: Season, Scale, and Risk
Before we get into trays and steps, it helps to name the constraints winter hands us.
Light and temperature
Indoors, the plants only know what you give them: water, mix, and light. For steady winter growth, many growers aim for room temperatures around 65–75°F (18–24°C) and 12–16 hours of bright light each day from full‑spectrum LED or fluorescent fixtures placed a few inches above the leaves.2 3
In my house, that translates to this reality: the plants live where I live. If a room is too cold for me to sit and read, it’s usually too cold for good microgreen growth.
Space and scale
I’ve grown winter microgreens at three scales:
- One tray in a bright window – a token bit of green, more for morale than meals.
- Two to four trays under a single light bar – enough to contribute to salads and sandwiches every week.
- A two‑shelf rack of trays with lights on each level – a small winter “field” that can keep a household supplied with fresh toppings and side greens.
We’ll look closely at the middle two, since they’re big enough to matter but small enough to live alongside real life.
Moisture, mold, and crowding
Dense plantings in a cool house can invite problems: mold on the surface, limp stems, or a fuzzy collapse at the soil line. Extension guides recommend shallow containers with drainage, careful watering from below, and moving air from a small fan to keep these issues at bay.3
Indoors, we’re not just growing plants. We’re managing a tiny weather system we’ve made ourselves.
I’ve lost trays to over‑watering and to a fan set too low and cold. Each failure has tuned my sense of how damp the mix should feel and how much air is enough.
Step-by-Step Process Guides
Here are two complete workflows from my own winter routine. Think of them as patterns to adapt rather than strict rules.
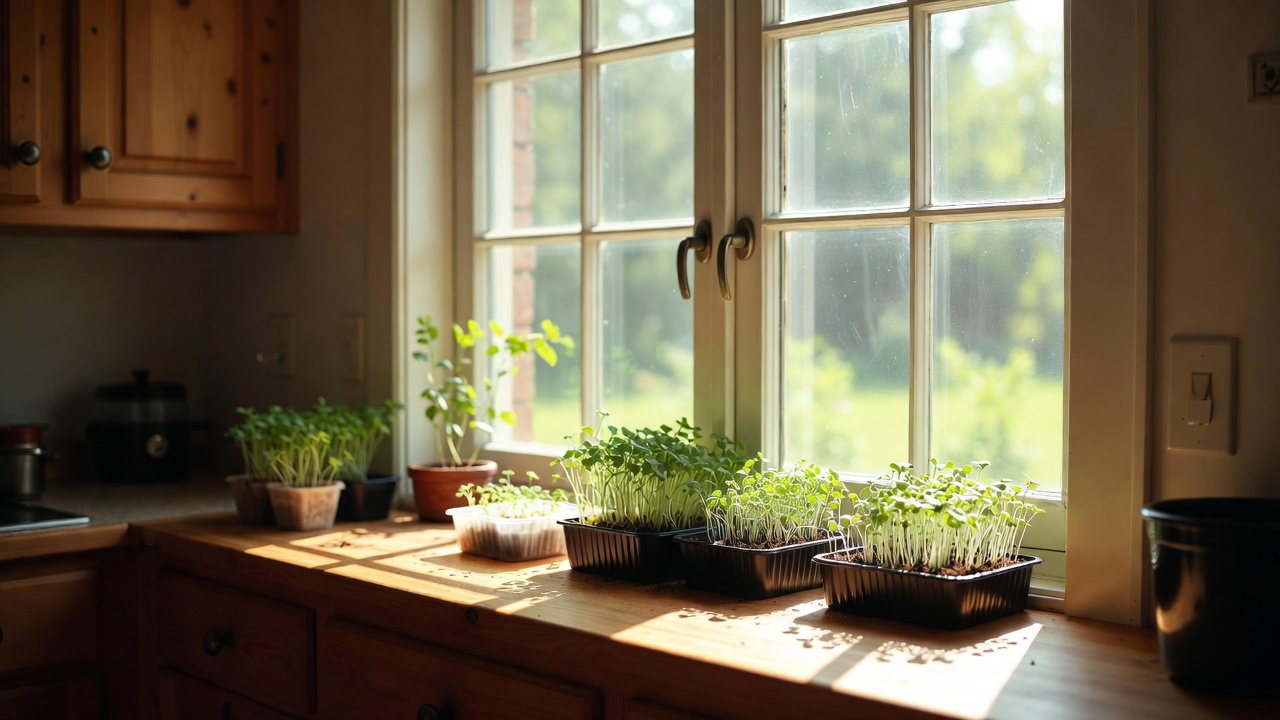
Process Guide 1: One Tray, One Window – A Starter Setup
Purpose / outcome
Keep a steady, small harvest of fresh microgreens for a household of one or two, using minimal equipment and (if you have it) a reasonably bright window.
Scale assumptions
- Household: 1–2 people
- Space: One sunny windowsill or counter with a clamp‑on or bar‑style LED grow light
- Production: 1 shallow tray sown each week
Crops that fit this pattern
Fast, forgiving kinds like radish, broccoli, kale, mustard, or arugula microgreens – all commonly recommended for beginners and indoor growing.5
Materials and inputs (for one tray)
- 1 shallow tray, about 1–2 inches deep, with drainage holes3
- 1 solid tray or shallow pan for bottom‑watering
- Fine seed‑starting mix or coconut coir to fill the tray to about an inch deep3
- Microgreen seed (radish, broccoli, kale, mustard, or arugula)
- Spray bottle or fine‑rose watering can
- LED grow light (bar or clamp‑on) or a very bright south‑facing window
- Small fan (clip‑on or desk‑sized)
- Clean scissors or a sharp knife for harvest
Step-by-step execution
1. Prepare the tray
I start by filling the perforated tray with about an inch of lightly moistened seed‑starting mix, then leveling it gently with my palm. Research‑based guides suggest that shallow containers 1–2 inches deep with drainage holes, filled with a light mix or coir, give microgreens enough rooting depth without waterlogging.3
2. Sow the seed
I scatter the seed in a fairly dense, even layer. I aim for good coverage without building little piles of seed; those tend to mold. With small seeds like broccoli or mustard, I sow them dry, as extension sources commonly do.4
Once the seed is down, I press it lightly into the surface with my palm or a small board, so each seed makes decent contact with the mix.
3. Water and cover for germination (the blackout phase)
I mist the surface thoroughly with the spray bottle until it’s evenly damp but not soupy. Then I set the tray into the solid bottom tray and add a little water there too, so the mix can wick from below.
For the first few days, I cover the tray – either by nesting an empty tray on top or using a loose, opaque cover. This “blackout” period keeps moisture close and encourages the seeds to push roots down before they reach for the light. I check once a day and mist lightly if the surface looks dry.
4. Move to light
When I see most seeds sprouted and pushing against the cover, I remove it and move the tray under the light.
Full‑spectrum LED fixtures a few inches above the canopy, run for roughly 12–16 hours each day, are widely recommended for vigorous indoor microgreen growth at room temperature.2 3 In practice, I plug my light into a cheap timer and set it to come on before breakfast and turn off in the evening.
5. Daily care
Each day, I:
- Check the weight of the tray by lifting a corner.
- Add water to the bottom tray if it feels light, letting the mix wick from below.
- Run a small fan on low nearby so the air moves gently over the leaves.
Extension fact sheets note that bottom watering combined with modest air circulation from a small fan helps reduce mold and damping‑off in dense indoor plantings.3
6. Harvest
Somewhere between the second and third week – often earlier for radish and mustard – the first true leaves appear and the tray looks like a small field. Home gardening guides place most microgreens in that same 7–25 day window from sowing to harvest, depending on species and conditions.5
When the greens look and taste right to me, I:
- Set the tray on a clean counter.
- Hold a small handful of stems upright.
- Cut just above the mix with clean scissors, letting the greens fall into a bowl.
For food safety, extension specialists recommend using clean containers and tools, harvesting with clean scissors just above the growing medium, then washing microgreens in drinking‑quality water, drying them thoroughly, and refrigerating. Properly handled, they typically keep about 5–10 days in the fridge.6
Safety and sanitation notes
I treat these trays as food production, not just houseplants. That means:
- Starting with clean trays and fresh mix
- Using potable water
- Washing and drying harvested greens before storing them in the refrigerator6
If I see fuzzy growth on the mix surface that doesn’t brush away easily, or if a tray smells off, I compost it and start over.
Expected results and timelines
Assuming reasonable light and household room temperatures around 65–75°F, I usually cut one or two generous harvests from this single tray within 7–25 days, consistent with extension timelines for microgreens grown indoors.2 5
The first time, I always keep a small notebook nearby to jot down when I sowed, when I saw sprouts, and when I first cut. Over a few trays, the pattern for your particular house will emerge.
Process Guide 2: Two-Shelf LED Rack – A Small Winter Salad Station
Once I realized how much a single tray lifted my winter cooking, I scaled up just a bit – not to a commercial operation, but to a quiet two‑shelf rack in a corner of the dining room.
Purpose / outcome
Provide a steady supply of mixed microgreens and pea or sunflower shoots for a small household all winter, with enough volume to top most meals and sometimes stand in as a salad base.
Scale assumptions
- Household: 2–4 people
- Space: A narrow shelving unit or wire rack, roughly 2–3 feet wide
- Production: 4–8 shallow trays in rotation
Crops that fit this pattern
I like to mix:
- One or two trays of fast brassicas (radish, broccoli, kale, mustard)5
- One tray of pea shoots
- One tray of sunflower shoots
Pea and sunflower seeds are larger and often benefit from a pre‑soak of several hours, which research‑based guides note can improve germination, especially in cooler conditions.4
Materials and inputs (for a two-shelf rack)
- 1 narrow shelving unit or wire rack with two usable shelves
- 4–8 shallow trays (1–2 inches deep) with drainage holes3
- 4–8 solid trays or pans for bottom watering
- Enough seed‑starting mix or coir to fill each tray to about an inch of depth3
- Microgreen seed for your chosen crops
- 2 LED grow light bars or fixtures, one per shelf
- 1–2 timers for the lights
- 1 small oscillating or clip‑on fan
- Clean scissors or a sharp knife for harvesting
- Clean containers or bags for storing harvested greens
Step-by-step execution
1. Set up the rack and lights
I start by placing the rack in a room that stays close to normal living temperatures. I mount one LED bar under each shelf so it sits a few inches above the tray height.
I plug each bar into a timer and set them for roughly 12–16 hours of light per day, aligned with research‑based recommendations for indoor microgreens.2 3
2. Prepare the trays
On a quiet evening, I:
- Nest each perforated tray into its solid bottom tray.
- Fill with about an inch of lightly moistened mix.
- Level the surface.
Again, shallow containers 1–2 inches deep with drainage holes are recommended for microgreens, as they provide sufficient rooting depth while reducing the risk of waterlogging.3
3. Soak the big seeds (peas and sunflowers)
For pea and sunflower trays, I measure out the seed, tip it into a jar or bowl, cover with clean water, and let it soak for several hours – often overnight.
University‑based guides advise that larger seeds like peas and sunflower generally benefit from a 4–12 hour pre‑soak, which can speed and even out germination.4
Smaller seeds (radish, broccoli, mustard, arugula) I sow dry.
4. Sow, water, and cover
Each tray gets its chosen crop:
- Scatter seed in a dense, even layer.
- Press lightly into the surface.
- Mist thoroughly.
- Add a little water to the bottom tray.
- Cover for the first few days.
On this larger rack, I often stack covered trays on the bottom shelf for their blackout phase, then move them up to the top once they’re ready for light.
5. Move trays to light and start the rotation
As each tray fills with sprouts and pushes against its cover, I:
- Uncover and move it under a light.
- Shift freshly sown trays into the “covered” spot.
One or two nights each week, I sow new trays. Over several weeks, this builds a rhythm: some trays are just sown, some in blackout, some under light, some ready to cut.
6. Daily care
I build a simple daily loop into my winter routine:
- Lift each tray to feel its weight.
- Add water to the bottom tray of any that feel light, letting the mix wick moisture from below.
- Run the fan on low near the rack so the air moves gently across both shelves.
Bottom watering plus gentle airflow over dense plantings is widely recommended to reduce mold and disease problems in indoor microgreens.3
7. Harvest and re‑sow
When a tray looks ready and the true leaves have formed, I harvest it in batches over a few days, cutting what I need with clean scissors.
After each harvest session, I:
- Rinse the greens in cool, clean water.
- Spin or pat them dry.
- Store them in a covered container in the refrigerator, as extension specialists advise for homegrown microgreens.6
Once a tray is cut down, I usually compost the spent mix and roots, wash the tray, and let it dry before sowing again.
Safety and sanitation notes
At this slightly larger scale, the habits matter more:
- Clean trays and tools before each sowing
- Use potable water
- Wash and dry harvested greens, then refrigerate them promptly6
If I spot persistent fuzzy growth on the surface or smell anything sour, the whole tray goes to compost.
Expected results and timelines
With room temperatures in the comfortable living range and 12–16 hours of light per day, I typically see:
- Sprouts in a few days
- Harvestable microgreens within roughly 7–25 days, depending on species5
That lines up with the timelines reported by home gardening and extension resources for indoor microgreens.1 5
Over a month or two, this two‑shelf rack becomes a kind of quiet metronome in the house – a steady tick of sow, water, harvest, wash, sow again.
In winter, the real harvest may be the rhythm more than the leaves.
Materials and Tools for Winter Microgreens
There’s no need for elaborate gear, but a few thoughtful choices can make the work smoother and the greens healthier.
Trays and containers
Research‑based guides recommend shallow containers 1–2 inches deep with drainage holes for microgreens, filled with a light seed‑starting mix or coir.3 I’ve settled on:
- Rigid plastic nursery trays with holes
- Matching solid trays or baking pans for bottom watering
I avoid very deep pots for microgreens; they use more mix than the roots need and make it harder to manage moisture.
Growing medium
I treat microgreens more like seedlings than like mature garden beds. A fine, well‑drained seed‑starting mix or coconut coir lets the roots move easily and makes for clean cutting.
Light
Full‑spectrum LED or fluorescent grow lights that can be hung a few inches above the canopy work well. Many indoor microgreen guides suggest running them 12–16 hours per day at typical room temperatures for strong, compact growth.2 3
I prefer simple, cool‑running LED bars with a wide spread so I can move them up and down as the trays fill.
Air movement
A small oscillating or clip‑on fan, run on low, keeps the stems sturdy and the surface of the mix from staying too wet. Utah State University Extension notes that good air circulation and avoiding saturated media are key to preventing damping‑off and mold in microgreens.3
Water and tools
- Room‑temperature, potable water
- A spray bottle or fine‑rose watering can
- Clean scissors or a sharp knife
- A small notebook to track sowing and harvest dates
The notebook may not seem like a tool, but over a winter it becomes a record of what worked under your roof, not just in somebody else’s guide.
Maintenance and Troubleshooting
Most of the work with winter microgreens happens in small, repetitive moments: a quick check before bed, a tray lifted, a light adjusted.
Daily and weekly rhythms
My own pattern looks like this:
- Morning: Lights come on via timer; I glance at each tray, looking for droop or obvious dryness.
- Afternoon: I lift trays, add water to the bottom pans if needed, and check that the fan is running.
- Evening: I harvest what we need for dinner and prep any newly soaked seeds or trays to sow.
This small but steady attention seems to do more for the plants than any one trick.
Common issues and how I respond
1. Mold or fuzz on the surface
If I see fuzzy patches that don’t brush away easily, or smell anything off, I assume I’ve pushed moisture too far.
Extension resources emphasize preventing these problems by using shallow, well‑drained trays, watering from below, and maintaining air circulation with a small fan.3
What I change:
- Reduce how long trays sit in standing water.
- Increase airflow slightly.
- Sow a bit less densely next time.
2. Leggy, pale stems
This usually tells me the plants want more light or that the fixture is too far away. Since many guides recommend lights about 4–6 inches above the canopy for compact growth,2 3 I adjust height or duration and watch how the next tray responds.
3. Slow growth
When trays lag far behind the usual rhythm, it’s often the room temperature. Microgreens tend to grow best in the same temperature range that people find comfortable indoors – roughly 65–75°F.2
If a room feels cold to sit in for long, I don’t ask my microgreens to live there.
4. Uneven germination
Particularly with peas and sunflowers, I’ve found that skipping the pre‑soak leads to patchier trays.
Extension publications note that larger seeds often benefit from a 4–12 hour soak before sowing, which helps them sprout more evenly, especially in cooler conditions.4
Frequently Asked Questions
Are microgreens really more nutritious than mature greens?
USDA‑funded research on multiple microgreen species found that young microgreens harvested within about 7–21 days after germination can contain roughly 4–40 times higher concentrations of certain vitamins and antioxidants than the same plants grown to full size, depending on the species and nutrient.1 That doesn’t replace eating other vegetables, but it does make a small tray surprisingly powerful.
How are microgreens different from sprouts or baby greens?
Sprouts are germinated seeds grown without soil, usually in jars or special sprouters, and eaten whole – seed, root, and shoot. Microgreens grow in a thin layer of mix and are cut above the surface once the first true leaves appear. Baby greens are just older, larger leaves grown in deeper soil.
From a food‑safety perspective, many extension guides treat microgreens more like salad greens than sprouts, emphasizing clean media, water, tools, and refrigeration after harvest.6
Do I have to use grow lights?
If you have a bright, unobstructed south‑facing window, you can often coax a tray of hardy microgreens through winter. But in my experience, a simple LED bar and timer vastly improves consistency, especially in northern climates where winter days are short.
Research‑based sources commonly recommend 12–16 hours of bright artificial light for sturdy winter growth.2 3
How long do harvested microgreens keep in the fridge?
Home food‑safety guidance suggests that when microgreens are produced in clean containers with potable water, harvested with clean scissors just above the medium, then washed, dried, and refrigerated, they typically keep about 5–10 days.6
I try to harvest in smaller batches so we’re usually eating greens within a few days of cutting.
Can I reuse the growing medium?
On my own place, I treat spent microgreen trays as compost feed. The roots and stems break down quickly, and starting with fresh mix seems to reduce disease issues. If I were ever tempted to reuse mix, I’d reserve it for non‑food houseplants.
Do I need fertilizer?
Because microgreens live such a short life and are harvested young, the nutrient reserves in the seed and the starter mix are usually enough. Many extension guides do not call for additional fertilizer in small home microgreen setups.3 7
External Resources and Further Reading
When my own notes fall short, I turn to a small stack of trusted references.
- Penn State Extension – Step‑By‑Step Microgreens Guide. A detailed, research‑based workflow for home microgreens, from tray preparation and seeding rates to managing light and moisture.7
- Utah State University Extension – Grow Your Own Microgreens. Concise fact sheet with practical information on container depth, media, light duration, and the importance of airflow and bottom watering to prevent problems.3
- Johnny’s Selected Seeds – Microgreens Key Growing Information. Commercial experience distilled into parameters for tray depth, media, days to maturity, and disease prevention, useful even at homestead scale.8
- Cold Climate Garden – Growing Microgreens Indoors During Winter. A gardener’s account tailored specifically to winter conditions, with gear suggestions and winter‑specific troubleshooting for short days and dry houses.1
- Chalet Nursery – Microgreens: The Ultimate Indoor Edible Gardening Guide. A nursery‑level overview of media choices, soaking large seeds, and staged growing that complements more technical extension sheets.9
- AllThatGrows – Grow Microgreens in Winters. A practical winter microgreen tutorial that reinforces the value of shallow trays, seed soaking, and simple mold‑prevention habits.10
- Peter Burke, Year‑Round Indoor Salad Gardening. A book focused on soil‑grown indoor greens without complex equipment, offering a thoughtful philosophy of small‑scale, everyday indoor harvests.11
- True Leaf Market – Microgreens & DIY Kits. A straightforward source of microgreen seeds, trays, and starter kits if you prefer to buy a complete setup rather than assemble one piece by piece.12
- University of Vermont Extension – Brighten Winter With Microgreens. Additional extension‑based guidance on growing, harvesting, and storing microgreens safely in cold‑climate kitchens.13
Most winter evenings, my own learning still happens at the shelf – in the way a tray smells when it’s just right, or how the stems lean when the light is a little too far away. These resources give that experience a wider context.
Closing: Letting Winter Work on Us
By February, I know the trays on the shelf better than the beds under the snow. I know which corner of the rack dries first, which light hums when it starts, which variety throws its cotyledons open in just three days.
The leaves grow fast, but the understanding grows slowly.
Growing microgreens indoors in winter is practical – a way to keep some vitamins and color on the plate when the world outside is gray.1 5 But it’s also a way to stay in conversation with the garden when the garden is asleep.
Every tray is a small rehearsal: prepare the soil, sow, watch, adjust, harvest, compost, begin again. When the frost finally lifts and the real garden opens, the habits we’ve kept with these trays – attention, patience, small daily care – go back outside with us.
In that sense, the point of winter microgreens may not only be the greens themselves, but the person they slowly shape: someone who keeps showing up, even when the ground is frozen and the work has moved indoors.
Sources
- The Science Is Clear: Microgreens Are More Nutritious Than Mature Vegetables
- Growing Microgreens Indoors During Winter
- Must-Know Tricks to Grow Microgreens Indoors During Winter With Grow Lights
- Grow Your Own Microgreens
- Microgreens (Oregon State University Extension)
- Types of Microgreens to Grow Indoors
- Growing Microgreens at Home
- A Step-By-Step Guide for Growing Microgreens at Home
- Microgreens – Key Growing Information
- Microgreens: The Ultimate Indoor Edible Gardening Guide
- Grow Microgreens in Winters with These Easy Steps
- Year-Round Indoor Salad Gardening
- Microgreens & DIY Growing Kits
- Brighten Winter With Microgreens
Reader Favorites
Homestead reference charts
Three field guides worth bookmarking — canning times, cellar storage, and safe cooking temps.
| Food | Pressure | Pint |
|---|---|---|
| Green beans | 10 lb | 20m |
| Corn | 10 lb | 55m |
| Tomatoes | water bath | 35m |
USDA/NCHFP processing times & pressures for common foods.
View full chart →| Item | Store | Keeps |
|---|---|---|
| Onions | cool, dry | 9 mo |
| Potatoes | cellar | 4–6 mo |
| Apples | cellar | 6 mo |
How long fruit & veg keep in the cellar, fridge and freezer.
View full chart → Network| Doneness | Target |
|---|---|
| Rare | 125–130°F |
| Medium-rare | 130–135°F |
| Well-done | 160°F+ |
Safe pull temps for steak & burgers, from Popular BBQ.
View full chart →